Running a busy British restaurant or café means juggling orders, managing payments, and keeping staff on track. Choosing the right point of sale system can shape how smoothly your day unfolds and how happy your customers leave. This guide shows you practical steps for selecting and installing POS hardware, configuring software, integrating payment systems, and preparing your team. You will discover which features matter most for restaurants and cafés of different sizes and how robust technology makes transactions simple and reliable.
Table of Contents
- Step 1: Assess Business Needs And Select POS Hardware
- Step 2: Install POS Terminals And Peripheral Devices
- Step 3: Configure POS Software For Business Workflow
- Step 4: Integrate Payment Systems And Accessories
- Step 5: Verify System Performance And Staff Readiness
Quick Summary
| Key Point | Explanation |
|---|---|
| 1. Assess Hardware Needs First | Understand your restaurant’s specifics to choose compatible POS hardware that enhances efficiency and customer service. |
| 2. Prioritise Installation Planning | Systematic installation ensures seamless operation; consider device placements and environmental factors for better staff workflow. |
| 3. Configure Software Effectively | Customise your POS software to align with business processes, ensuring proper menu and staff management for improved service. |
| 4. Integrate Diverse Payment Systems | Support various payment methods and ensure compliance with regulations to enhance customer convenience and security. |
| 5. Conduct Rigorous System Testing | Validate software and hardware performance with comprehensive testing to ensure staff readiness and prevent operational disruptions. |
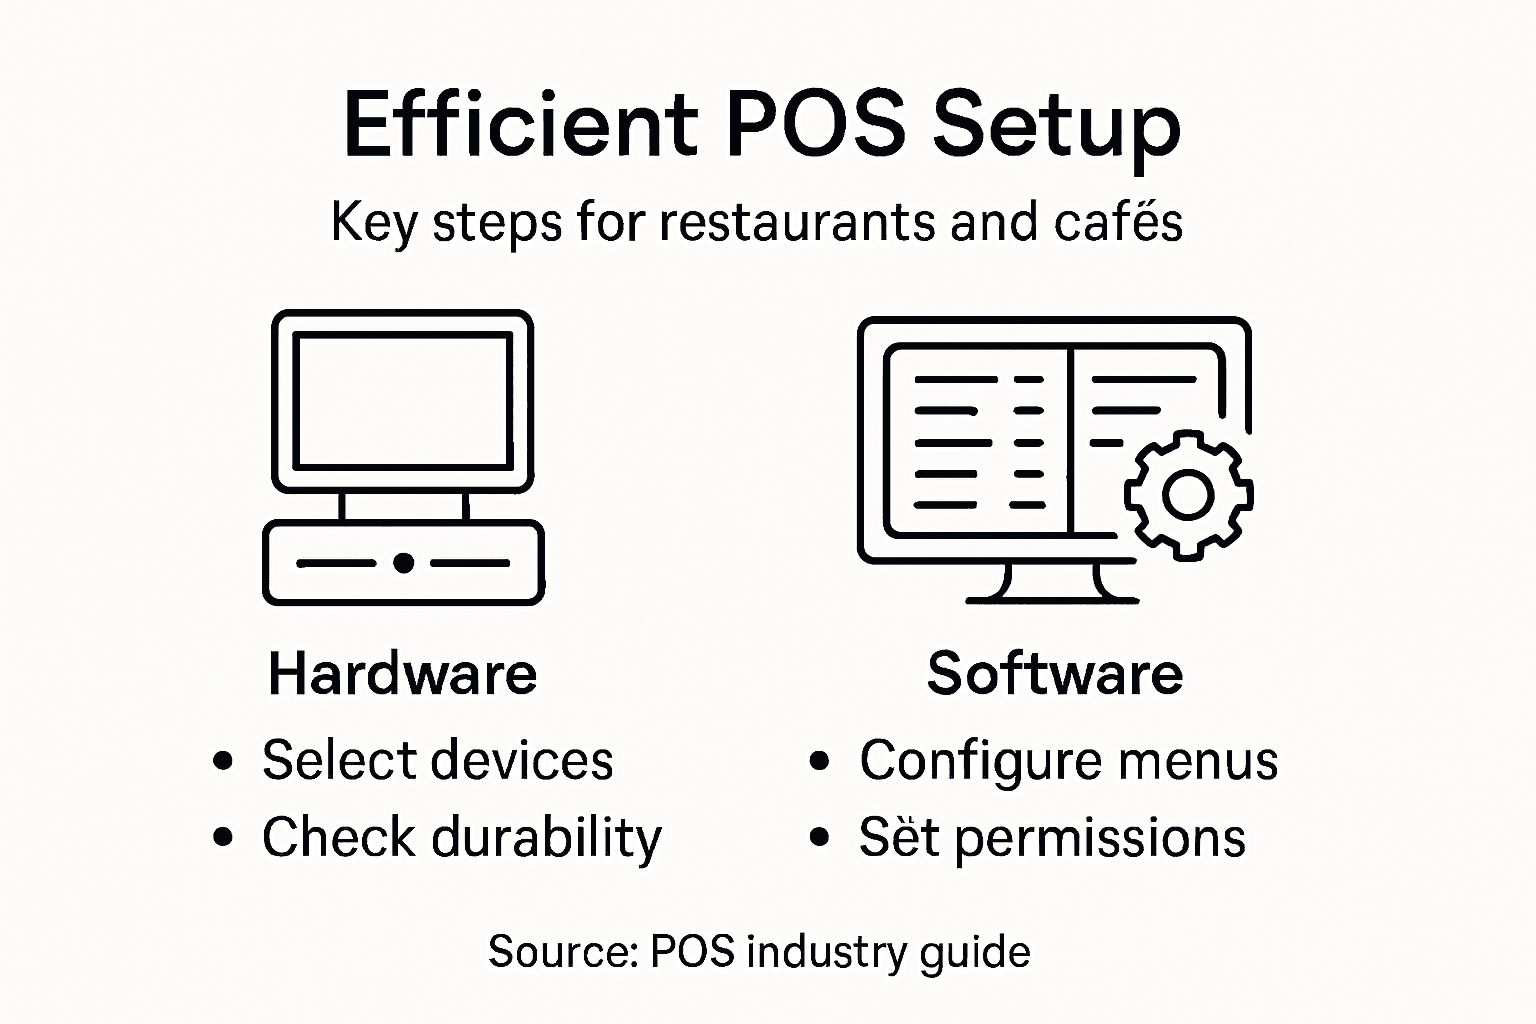
Step 1: Assess business needs and select POS hardware
Selecting the right point of sale (POS) hardware is crucial for restaurants and cafés looking to streamline their operations and enhance customer service. Your hardware choices will directly impact workflow efficiency, payment processing, and overall business performance.
When assessing your restaurant’s POS hardware requirements, start by understanding your specific operational needs. Core hardware components for restaurant POS typically include:
- Card readers for payment processing
- Receipt printers for customer documentation
- Barcode scanners for inventory tracking
- Cash drawers for cash management
- Terminals or tablets for order processing
Consider your restaurant’s unique characteristics when selecting hardware. A small café might need a compact, single-terminal setup, while a bustling restaurant could require multiple stations with mobile ordering capabilities. Pay special attention to:
To help you assess which POS hardware best fits your restaurant, here’s a comparison of typical setups for different business sizes:
| Business Type | Hardware Configuration | Key Benefits |
|---|---|---|
| Small café | Single terminal, compact setup | Saves space, easy management |
| Mid-sized restaurant | Multiple terminals, kitchen display | Faster service, order tracking |
| Large restaurant | Terminals plus mobile ordering tablets | High throughput, flexible workflow |
| Quick-service outlet | Mobile POS, robust peripherals | Speedy transactions, portability |
- Physical layout and available counter space
- Number of simultaneous users
- Kitchen display system requirements
- Tableside ordering needs
- Future scalability potential
Choose POS hardware that offers modularity and can adapt to your restaurant’s evolving operational demands.
Durability is another critical factor. Restaurant environments are high-traffic, with potential exposure to spills, heat, and constant handling. Prioritise hardware with robust build quality and proven reliability in hospitality settings.
Professional advice: Invest in hardware with comprehensive after-sales support and warranty to minimise potential disruptions to your restaurant’s operations.
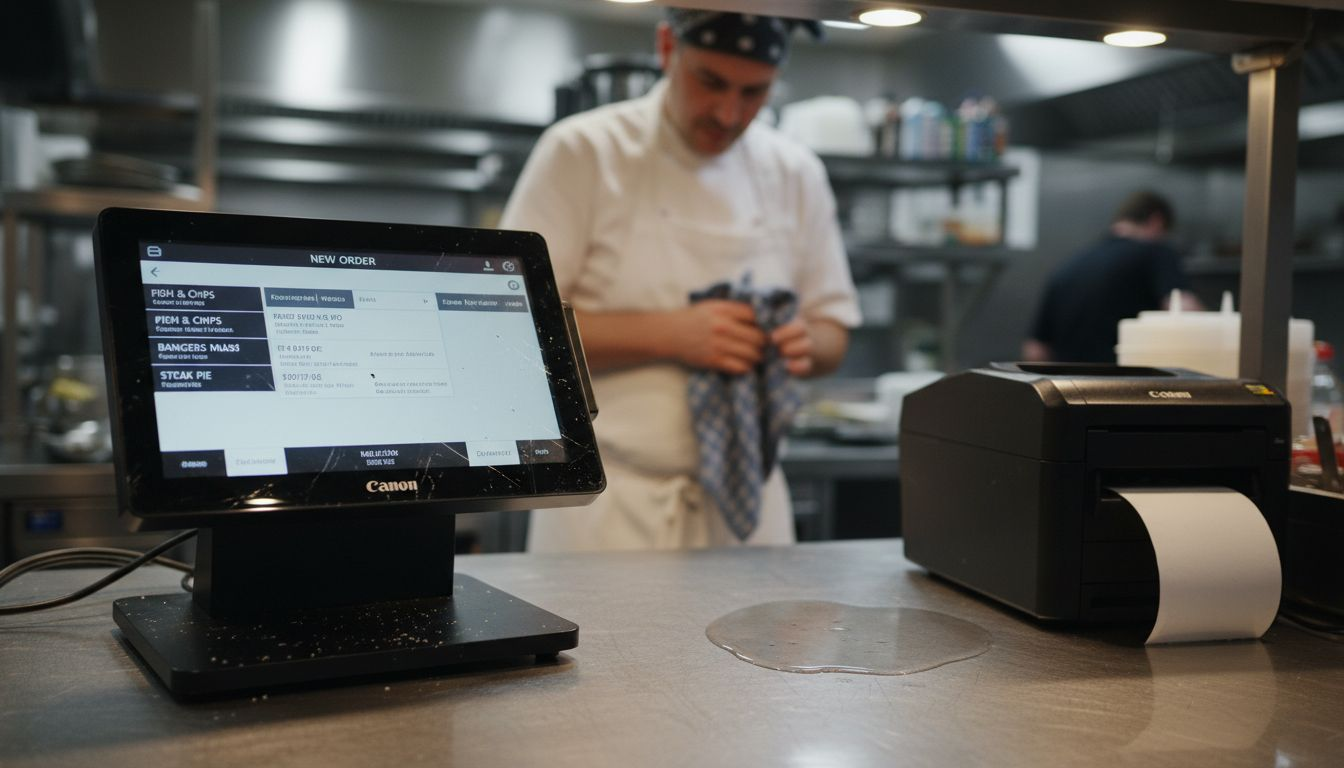
Step 2: Install POS terminals and peripheral devices
Installing your restaurant’s point of sale (POS) hardware is a critical step that requires careful planning and systematic execution. Systematic hardware installation ensures your restaurant’s technology infrastructure operates smoothly from day one.
Begin by carefully unboxing and preparing your POS hardware components. Your typical installation will involve several key devices:
- All-in-one terminals for primary order processing
- Receipt printers for customer documentation
- Kitchen display systems for order management
- Cash drawers for financial transactions
- Barcode scanners for inventory tracking
When setting up your devices, follow these essential installation steps:
- Identify optimal placement for each terminal and peripheral
- Ensure sufficient electrical outlets and network connections
- Mount terminals securely to prevent accidental movement
- Connect power and network cables carefully
- Configure individual device settings
Proper hardware positioning can significantly improve staff workflow and customer service efficiency.
Pay close attention to environmental factors in your restaurant. Ensure terminals are positioned away from direct heat sources, potential liquid spills, and high-traffic areas that might cause accidental damage. Consider using protective covers or mounts for added durability.
Professional advice: Always test each device thoroughly immediately after installation to identify and resolve any potential connectivity or functionality issues before your restaurant opens.
Step 3: Configure POS software for business workflow
Configuring your restaurant’s POS software is a critical step that transforms technology into a powerful operational tool. Restaurant POS system workflow requires strategic customisation to match your unique business processes.
Start by mapping out your restaurant’s specific workflow requirements. This involves several key configuration areas:
- Menu management with detailed item configurations
- Order routing between front-of-house and kitchen systems
- Staff permission settings to control system access
- Pricing and modifier rules for menu flexibility
- Cloud synchronisation for real-time data updates
When setting up your software, focus on these essential configuration steps:
- Input complete menu with accurate pricing
- Create user roles with appropriate access levels
- Set up custom order modification options
- Configure tax and discount parameters
- Establish kitchen display system settings
Effective POS software configuration can dramatically improve operational efficiency and customer service quality.
Pay particular attention to staff management modules. Carefully define user permissions to ensure that each team member has appropriate access levels. This approach minimises potential errors and maintains system security.
For quick reference, see how core POS software modules support business workflow optimisation:
| Module | Operational Impact | Why It Matters |
|---|---|---|
| Menu management | Streamlines order entry | Reduces errors, boosts speed |
| Staff permissions | Controls access and security | Protects data, prevents misuse |
| Order routing | Connects service and kitchen | Ensures timely preparation |
| Pricing rules | Handles discounts/modifiers | Improves flexibility, attracts customers |
| Cloud synchronisation | Enables real-time updates | Keeps menus, prices current |
Professional advice: Conduct thorough staff training on the new POS system configuration to ensure smooth adoption and maximise the software’s potential capabilities.
Step 4: Integrate payment systems and accessories
Integrating payment systems requires strategic planning to create a seamless transaction experience for your restaurant. Payment system integration involves connecting multiple payment technologies to enhance customer convenience and operational efficiency.
Your payment integration strategy should include support for diverse payment methods:
- Contactless card readers
- NFC-enabled mobile wallets
- Chip card terminals
- Traditional credit card processors
- Digital payment platforms
When setting up payment systems, follow these critical integration steps:
- Select compatible payment processors
- Verify hardware and software compatibility
- Configure secure transaction protocols
- Test multiple payment scenarios
- Train staff on new payment technologies
Comprehensive payment integration reduces transaction times and improves overall customer satisfaction.
Ensure your chosen payment systems comply with UK financial regulations and maintain robust security standards. This approach protects both your business and your customers during every transaction.
Professional advice: Regularly update payment system software to maintain the latest security protocols and support emerging payment technologies.
Step 5: Verify system performance and staff readiness
The final stage of your POS implementation involves thoroughly testing system capabilities and ensuring your team is fully prepared. Restaurant POS system testing requires a comprehensive approach that validates both technical performance and staff competence.
Your verification process should encompass multiple critical areas:
- Software functionality testing
- Hardware performance checks
- Order processing simulations
- Staff training assessments
- Integration point validations
Conduct a systematic verification process through these essential steps:
- Run comprehensive software performance tests
- Simulate peak transaction scenarios
- Test all payment processing channels
- Verify kitchen display system integration
- Conduct staff practical training sessions
Rigorous testing prevents potential operational disruptions and ensures a smooth restaurant technology launch.
Focus on staff readiness by implementing practical training modules that mimic real-world restaurant scenarios. This approach helps employees build confidence and reduces potential errors during actual service periods.
Professional advice: Create a staged rollout strategy that allows gradual system adaptation, enabling your team to incrementally learn and master the new POS technology.
Streamline Your Restaurant POS Setup with Trusted UK Solutions
Setting up a POS system for restaurants and cafés involves carefully selecting hardware, configuring software, and integrating payment methods to achieve smooth and efficient operations. The challenges of choosing durable, scalable hardware and customising software to fit your unique workflow can feel overwhelming. You need a partner that understands terms like multi-terminal setups, kitchen display systems, and secure payment integrations, while delivering reliable support and next-day delivery.
At YCR Distribution, we specialise in providing complete POS solutions designed specifically for hospitality businesses in the UK. Whether you require high-quality POS terminals, barcode scanners, or bespoke software like SAMTOUCH tailored to your restaurant’s workflow, we offer modular and robust options that grow with your business. Explore how our trusted hardware distributors and software experts can help you reduce setup complexity, protect your investment, and accelerate staff readiness.
Looking to simplify your POS system installation and maximise operational efficiency now?
Discover the difference with YCR Distribution’s comprehensive POS solutions. Visit https://ycr.co.uk today to find durable POS hardware, fully customisable software, and expert guidance that restaurant businesses in the UK rely on for success.
Frequently Asked Questions
How do I assess my restaurant’s POS hardware needs?
Start by evaluating your operational requirements, considering factors like the physical layout, number of users, and specific functions like tableside ordering. Create a checklist of essential hardware components such as card readers and receipt printers to ensure you cover all necessary aspects.
What are the essential steps for installing POS terminals and peripherals?
Begin by carefully unboxing your POS hardware and determining the optimal placement for each device. Ensure adequate power and network connections, secure terminals to prevent movement, and test each device immediately after installation for functionality.
How can I effectively configure the POS software for my restaurant?
Map out your restaurant’s specific workflow before configuring the software, focusing on areas such as menu management and order routing. Make sure to input complete menu details and set user permissions to enhance system security and efficiency.
What should I consider when integrating payment systems into my POS?
Consider supporting diverse payment methods, such as contactless card readers and mobile wallets, to provide customer convenience. Follow installation protocols to verify compatibility and security, and always test the payment systems to ensure smooth transactions.
How do I verify the performance of my POS system before launching?
Conduct comprehensive testing for software functionality, simulate peak transaction scenarios, and verify kitchen display system integration. Ensure staff training is practical, allowing employees to build confidence and minimise errors during service.
What is a recommended approach for staff training on the new POS system?
Implement practical training modules that mimic real-world restaurant scenarios to increase familiarity with the system. Consider scheduling training sessions at least a week before the go-live date to ensure staff are well-prepared.