- +44 1924 438238
- sales@ycr.co.uk
- Mon - Fri: 8:30 - 16:30
POS Hardware Troubleshooting Tutorial for Smooth Operation
A single faulty receipt printer or unresponsive touchscreen can stall every transaction and frustrate both staff and customers. Keeping point of sale hardware running smoothly is vital for the success of British restaurants and retail shops. This guide delivers clear, practical troubleshooting steps so you can quickly pinpoint issues, reduce downtime, and maintain efficient service across your business.
Table of Contents
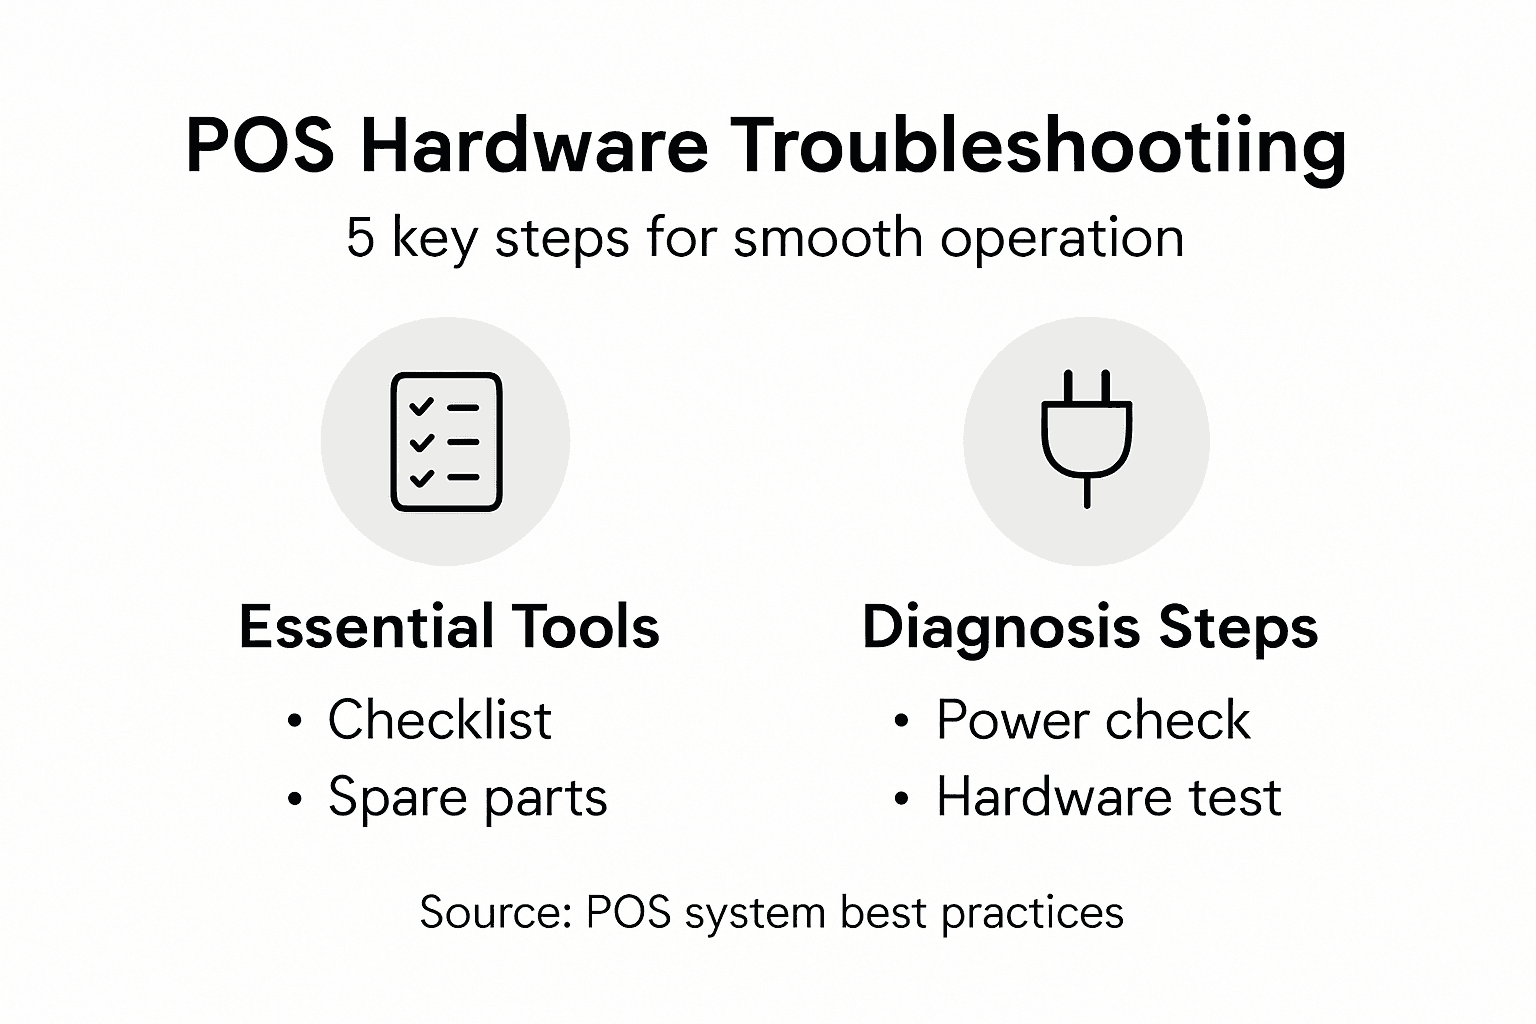
- Step 1: Gather Essential Tools And Information
- Step 2: Inspect Power And Connectivity Essentials
- Step 3: Diagnose Common Hardware Faults
- Step 4: Test Peripherals And Replace Components
- Step 5: Verify System Recovery And Functionality
Quick Summary
| Key Insight | Explanation |
|---|---|
| 1. Maintain Comprehensive Documentation | Document all POS components, including serial numbers and specs, for effective troubleshooting. |
| 2. Inspect Power and Network Connectivity | Check power cables and network connections to ensure system stability and avoid disruptions. |
| 3. Systematically Diagnose Hardware Issues | Conduct thorough checks on each device to identify and rectify any faults early. |
| 4. Establish a Component Testing Protocol | Develop clear procedures for testing peripherals and deciding between repair or replacement. |
| 5. Verify Functionality Post-Diagnosis | After repairs, perform a full system restart and functional tests to confirm all is operational. |
Step 1: Gather Essential Tools and Information
Before diving into troubleshooting your point of sale hardware, you’ll want to collect critical diagnostic details. A systematic approach helps you pinpoint issues quickly and efficiently.
Start by creating a comprehensive inventory of all your POS system components. Comprehensive system documentation is crucial for effective diagnosis. This means listing every hardware device, including terminals, receipt printers, barcode scanners, cash drawers, and network equipment. For each device, record:
- Serial numbers
- Exact model specifications
- Current firmware versions
- Purchase dates
- Warranty information
Your goal is to build a complete snapshot of your current system configuration. Capture network details like IP addresses, router information, and internet connection specifications. Take screenshots of system settings and error messages – these visual records can be incredibly helpful when seeking technical support.
The table below summarises the critical POS hardware components and highlights their business importance:
| Device Type | Main Function | Business Impact |
|---|---|---|
| Receipt Printer | Produces customer receipts | Ensures transactional evidence |
| Barcode Scanner | Reads product data | Accelerates checkout speed |
| Card Reader | Processes electronic payments | Enables convenient payment |
| Cash Drawer | Secures cash transactions | Prevents theft and loss |
| Touchscreen Terminal | User input and control | Enhances operator efficiency |
Thorough documentation transforms random troubleshooting into strategic problem-solving.
Next, compile a log of recent performance issues. Ask your team members to document:
- Specific error messages
- Timestamps of disruptions
- Circumstances surrounding system failures
- Frequency of problems
This systematic approach provides technical support teams with precise information, dramatically reducing diagnostic time.
Professional Recommendation: Maintain a digital folder with all system documentation, making critical information instantly accessible during troubleshooting scenarios.
Step 2: Inspect Power and Connectivity Essentials
Power and network connectivity form the critical backbone of any reliable point of sale system. Your goal in this step is to systematically evaluate the electrical and network infrastructure supporting your POS hardware.
Begin with a comprehensive power system inspection. Check power cables for visible damage, ensuring they are securely connected and free from fraying or wear. Test each power outlet using a multimeter or simple plug-in voltage tester to confirm stable electrical supply. Look for these potential issues:
- Loose electrical connections
- Damaged power adapters
- Inconsistent voltage levels
- Signs of electrical strain or overheating
For network connectivity, verify internet and local network stability. Run multiple connection tests using both wired and wireless interfaces. Confirm that all network cables are:
- Firmly seated in appropriate ports
- Not kinked or physically damaged
- Connected to correct network switches or routers
- Providing consistent signal strength
A single compromised cable can disrupt your entire point of sale ecosystem.
Utilise built-in network diagnostic tools on your POS terminals to check signal quality, latency, and potential interference. Document any intermittent connection problems or speed variations you observe during testing.
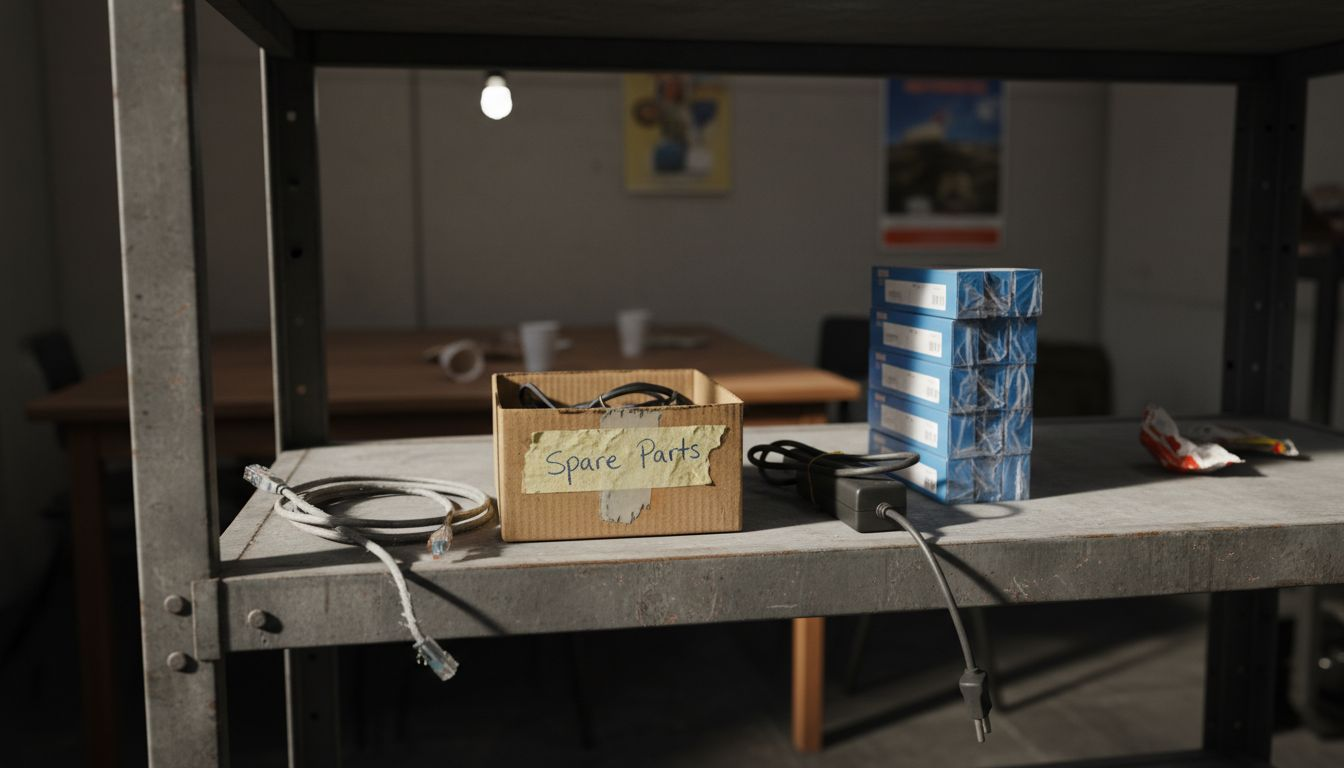
Professional Recommendation: Keep spare network cables and power adapters on-site to quickly replace any faulty components and minimise system downtime.
Step 3: Diagnose Common Hardware Faults
Diagnosing hardware issues requires a systematic and patient approach to identifying potential problems across your point of sale system. Your goal is to pinpoint specific faults that might compromise system performance and reliability.
Common retail POS hardware problems can manifest in multiple ways. Start by performing a comprehensive visual and functional inspection of each device. Listen for unusual noises and observe error codes that might indicate underlying issues. Key hardware components to scrutinise include:
- Receipt printers
- Touchscreen interfaces
- Barcode scanners
- Card readers
- Cash drawers
Focus on detecting specific symptoms for each device type. For receipt printers, watch for:
- Paper feed inconsistencies
- Print quality degradation
- Unusual mechanical sounds
- Error message displays
Touchscreen diagnostics require careful testing of responsiveness and calibration. Check for dead zones or areas not registering touch inputs. Run manufacturer-provided diagnostic software to assess touchscreen functionality and identify potential recalibration needs.
Systematic observation reveals hardware problems before they become critical failures.
Card readers demand particular attention. Test multiple transaction types to ensure consistent performance across different payment methods. Look for signs of mechanical wear, connection issues, or intermittent scanning problems.
Professional Recommendation: Create a standardised hardware testing checklist to ensure consistent and thorough diagnostic procedures across all point of sale devices.
Step 4: Test Peripherals and Replace Components
Testing and replacing point of sale hardware components requires a methodical approach to ensure minimal disruption to your business operations. Your objective is to systematically evaluate each peripheral and determine whether repair or replacement is the most cost-effective solution.
Begin by creating a comprehensive testing sequence for each peripheral device. Prioritise testing critical components like receipt printers, barcode scanners, and card readers. Perform a full diagnostic routine that includes:
- Functional performance checks
- Connection stability tests
- Data transmission reliability
- Physical component integrity
For each peripheral, follow these detailed testing steps:
- Conduct initial visual inspection
- Run manufacturer diagnostic software
- Perform simulated transaction tests
- Document any observed irregularities
Evaluate replacement criteria by considering these key factors:
Here is a comparison of repair versus replacement considerations for POS hardware:
| Decision Factor | Favour Repair | Favour Replacement |
|---|---|---|
| Cost | Significantly lower | Only slightly higher |
| Device Age | Relatively new | Approaching end-of-life |
| Warranty Coverage | Still under warranty | Out of warranty |
| Impact on Operations | Minimal downtime | Faster long-term restoration |
- Repair cost versus replacement price
- Device age and potential future reliability
- Impact on overall system performance
- Warranty and support availability
Strategic component replacement prevents catastrophic system failures.
Prepare replacement components in advance by maintaining an inventory of critical spare parts. This proactive approach minimises potential downtime and ensures quick system restoration.
Professional Recommendation: Develop a standardised testing protocol with clear decision matrices for when to repair versus replace point of sale hardware components.
Step 5: Verify System Recovery and Functionality
After completing hardware diagnostics and potential component replacements, your final task is a comprehensive system recovery verification. This crucial step ensures that all point of sale components are functioning correctly and integrated seamlessly.
Perform a full system restart to reset all hardware and software interfaces. During the reboot process, carefully observe:
- Startup sequence timing
- Error message displays
- Device recognition
- Network connection establishment
Execute a systematic functionality test across all POS components:
- Test receipt printer output quality
- Verify barcode scanner response
- Check touchscreen responsiveness
- Validate card reader transactions
- Confirm cash drawer operations
Simulate multiple transaction scenarios to ensure comprehensive system performance. This includes:
- Cash payments
- Card transactions
- Refund processing
- Split bill operations
- Inventory management interactions
A thorough recovery verification prevents potential operational disruptions.
Document all test results meticulously. Create a detailed report capturing any residual issues, performance metrics, and system stability observations. This documentation serves as a critical reference for future maintenance and troubleshooting efforts.
Professional Recommendation: Develop a standardised system recovery checklist that can be quickly executed to validate point of sale hardware functionality after any diagnostic intervention.
Ensure Smooth POS Operations with Trusted Hardware and Expert Support
When troubleshooting your point of sale hardware, addressing power, connectivity, and component faults can feel overwhelming. Challenges like unstable network connections, printer errors, and peripheral malfunctions not only disrupt transactions but also affect customer satisfaction and employee efficiency. With detailed diagnostics and systematic hardware checks as discussed in the tutorial, staying ahead of these issues is crucial for seamless business operations.
YCR Distribution is your reliable partner in overcoming these challenges. Offering a wide range of top-quality POS terminals, printers, and barcode scanners, we provide solutions designed for retail and hospitality professionals who demand operational excellence. Our expert team supports you with genuine hardware from trusted brands like SAM4S and iMin plus bespoke POS software such as SAMTOUCH and EZEEPOS to streamline your workflow and enhance customer interactions.

Take control of your POS system reliability today. Explore our comprehensive selection and benefit from next-day delivery and credit account options by visiting YCR Distribution. Empower your business with proven hardware and expert guidance that keeps your point of sale running smoothly without downtime.
Frequently Asked Questions
What initial information should I gather for POS hardware troubleshooting?
Before troubleshooting your POS hardware, create an inventory of all components including terminals, printers, and scanners. Document their serial numbers, model specifications, firmware versions, and warranty info to facilitate faster diagnosis.
How can I ensure my POS system has stable power and network connectivity?
Inspect all power cables and connections for damage, and test outlets to confirm stable voltage levels. For network connectivity, ensure all cables are securely connected and check signal strength to maintain uninterrupted service.
What are common signs of hardware faults in POS devices?
Common signs of hardware faults include unusual noises from printers, error codes on screens, and unresponsive touch interfaces. Perform a systematic inspection to identify these symptoms early and avoid further complications.
When should I consider replacing a component instead of repairing it?
Consider replacement when repair costs approach the price of new components, or when devices are nearing the end of their operational lifespan. Evaluate the potential impact on your operations, and if replacing ensures better reliability, proceed with it.
How can I verify that my POS system has fully recovered after troubleshooting?
After conducting repairs or replacements, perform a full system restart and run comprehensive tests across all devices. Document test outcomes to confirm that each component operates effectively and supports smooth transactions.
Should I maintain spare parts for my POS hardware?
Yes, keeping an inventory of critical spare parts helps minimise downtime in the event of hardware failure. Prepare a list of essential components and aim to replace any faulty parts quickly, ideally within 24 hours.